-->

This Page

has been moved to new address

Debbiedoo's

Sorry for inconvenience...

Redirection provided by Blogger to WordPress Migration Service
Debbiedoo's

Debbiedoo's

Diy, thrifty home decor decorating ideas on a budget. Painting furniture, stenciling projects. Turning trash to treasure.

Wednesday, January 25, 2012

{DIY} Valentines wreath

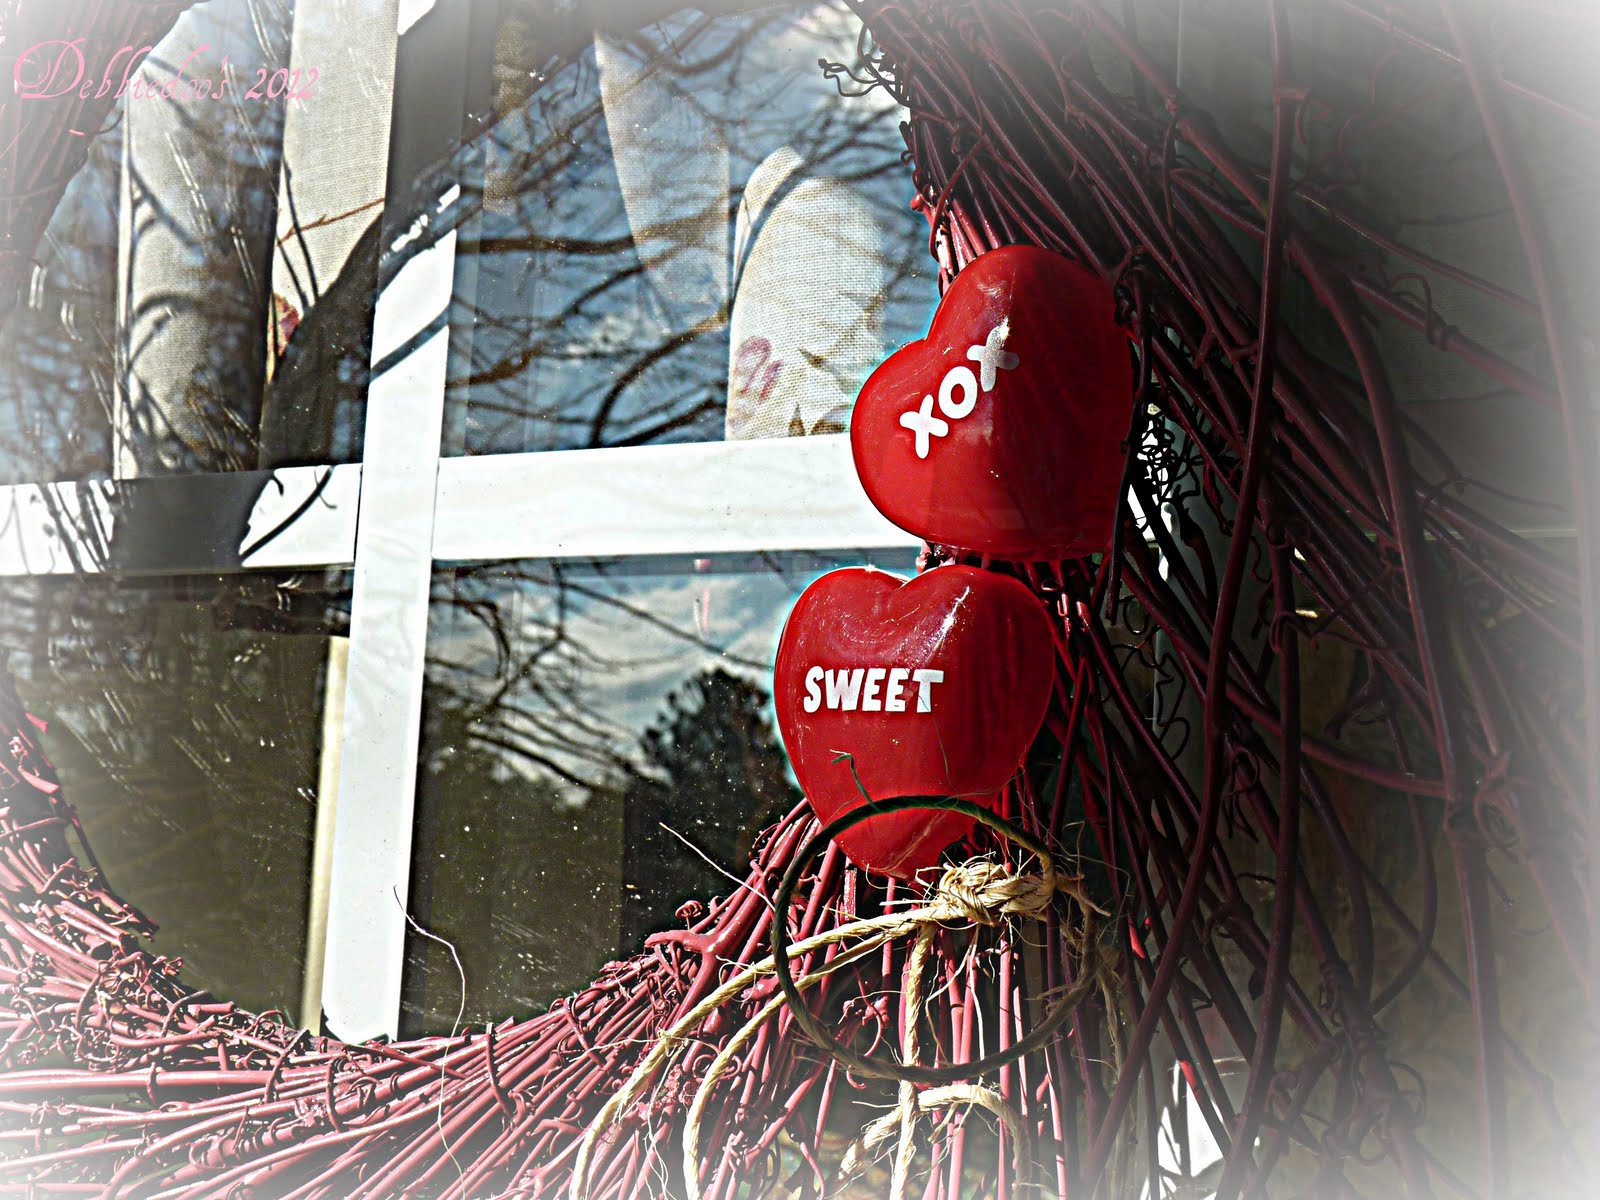
One wreath = diversity throughout the season! This was a another quick DIY Valentines wreath!

You know me and a can of spray paint...could be deadly if you stand in my way!
you may recall I just used this color watermelon
for my mason jars


All pictures here, no more yapping!


the cute little Valentines embellishments are a pack of party favors I picked up from Walmart.

Pretty self explanatory what I did..
Spray painted stick wreath, let it dry and hot glued the party favors.
I also tied a little twine bow.
This wreath was the best $5.00 ever spent. I would recommend the investment, just look at all the fun changes you can make too!

I definitely see Yellow for Spring!

Sharing with:
WOW us Wednesday
Primp you stuff
It's overflowing
The shabby creek cottage
Don't forget to get in on the
Annie Sloan paint deck
giveaway
HERE

Sample Deck

Labels: , ,

Monday, January 16, 2012

How do you make a coffee filter wreath?

How do you make a coffee filter wreath?
Today I am sharing how to make a Coffee filter wreath. Step by step instuctions.
Of course, I followed no instructions and/or tutorials! I just winged it, and I am so happy I did!
{I am starting my newbie party early as we are on the road today,and I will not be home til late}


I started with this mini grapevine wreath that I had on my pantry door.  This one had lemons and bay leaves on it.  I liked the checked ribbon and I thought with Valentines day coming this would work.


If you are looking for a how to, or tutorial, you are at the wrong place.
All I can tell you is I folded the coffee filter in half, then in half again.  I used my hot glue gun to adhere them to the grapevine, then I poofed them out, and hot glued here and there to bring them together.
Bad TUT, I know!


I am just so stinkin proud of myself over this thing!
It really was simple, and look how cute it is.


Spreading some Valentines here and there and will share more soon.
The nice thing about this wreath is I can use it all year and just add a different embellishment to the checked ribbon if I like.

Let's get this newbie party started!

MY GUIDELINES

*Blogging 6 months or less and or less than 100 followers.
*Would love for you to become a new friend of mine as well on google friend connect.
*PLEASE turn off Word verification, makes commenting very difficult, and you do not need it.
Blogger does a great job of deterring spam comments.
*PLEASE visit a few other participants, that is what you are here for! 
*IF you find your link deleted, it is simply because you did not follow my simple guidelines.  
*PLEASE add my link or button to your blog and/or post.
Please limit your links to two per newbie party.
thank you.
I would also like to mention, that we all should be watermarking our photo's.  Which basically means, add your name or blog name to each photo.  With pinterest on the rise in popularity, I see many pins out there with no name.
Do realize any party you link up to, gives people free reign to pin away, which is great, however, no name on the photo, no credit.  I always source out my features and I try only to feature ones with your names on them, that is for your benefit. Even though the pin may lead back to my original post, people would clearly see it was your work, with a link back to YOUR blog.


Debbiedoo's

Labels: ,

Sunday, November 6, 2011

Stencil on a shower door {DIY}

Let me first declare, I am not the genius who came up with this idea of stenciling a shower door.
When I first saw it, I was giddy with delight.
Diane from 
In my own style is where I discovered it.
 Diane shows a wonderful tutorial, and this is what I followed and did myself.


This particular stencil I picked up from Hobby lobby, which was very reasonable with a coupon.
I will be using my cutting edge stencil today in fact, and really can't wait.
I really am not fond of glass shower doors, and have always wanted to change them out for something more decorative. But that costs $$$$$$


The nice thing about using a stencil on glass is, I can easily remove it with some glass cleaner and a razor.
No biggie at all.


I will show you the rest once I get this bathroom pulled together.
I was just too excited not to share now.
Have a great Sunday, and see you later for the newbie party.

Supplies:
Stencil
Craft paint
I mixed three colors together,
I just wanted subtle colors,
bronze, yellow and blue
roller
stencil tape
paper towels

First I centered the stencil.  Once everything was dry, I over lapped half the stencil to continue on the sides.
The side where the glass is wider, that was not necessary, I just moved my stencil over and it happened to be perfect in size.
Total time on this 2 hours.

***The key to stenciling is NOT to saturate your roller.***
  This is where the paper towels come in. I rolled off any excess before applying to my stencil.
Stencils tend to bleed under if you have too much paint.

Sharing with:
Susan between naps on the porch {MM}
tip junkie
motivate me monday
Just something I whipped up

Labels: , ,

Wednesday, August 24, 2011

Upcycling a wood pallet, DIY project FREE!

Oh, I would say a few months back, while I was browsing the garden section at Lowes,
 I spied a wood pallet near their trash.  
I asked the cashier if I could have it. 
 She said sure, and then asked why? 
I said I am going to do something with it, but I have no clue yet! 

She laughed and gladly handed it over to me.
It took me until today to figure out just what I was doing with it!
Old white, Annie Sloan paint in hand,
dark wax,
some craft paints, and I was good to go!


First, I cleaned it real good with some simple green.
Next, I painted it Old White.
Next, process after drying, 
I took these two color craft paints, an old rag and just ragged those colors on.
I then sanded it, and put the dark wax on.


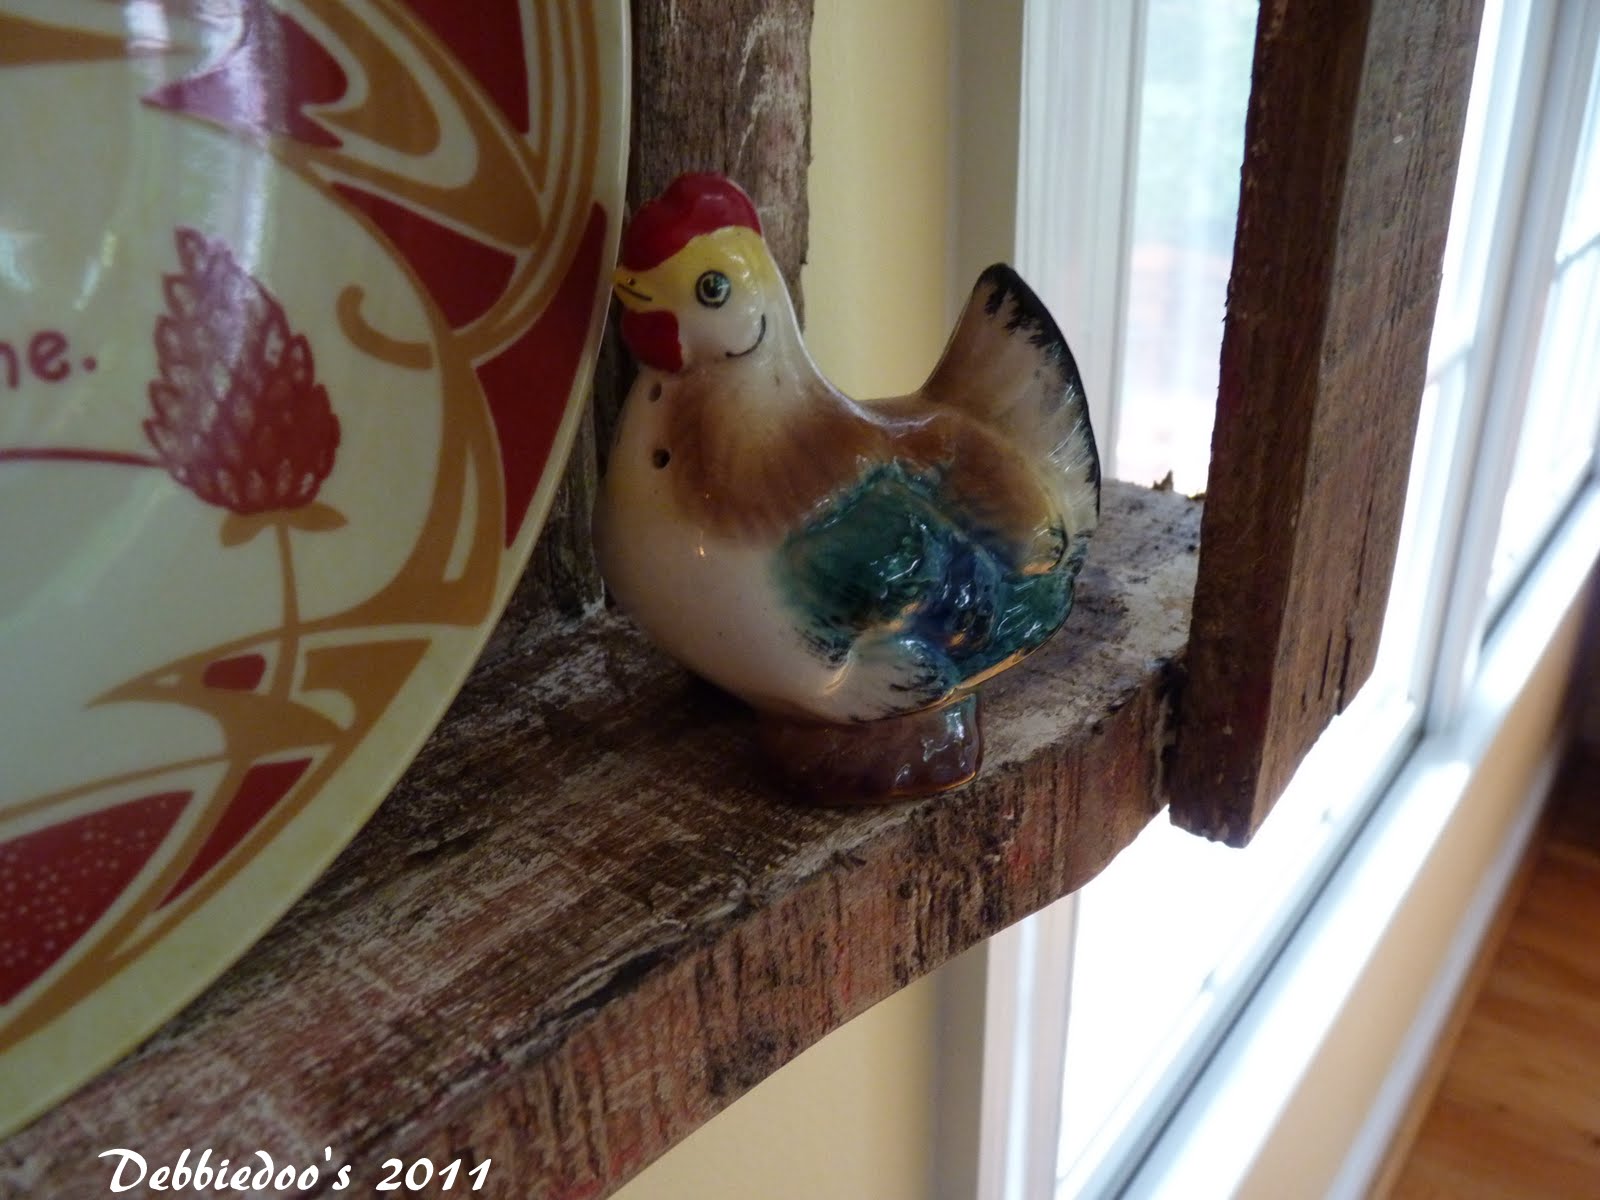
Hey with cows all the rage now, I just so happened to have these pretty cheese plates for years now..
They used to be displayed around my kitchen window.

I had that look for a long while, but it needed a change.


This pallet took on such an aged appearance. 
 I love the hints of red, copper and dark wax coming through.


Makes a perfect little display shelf.


Paired up with my $3.00 Goodwill table...I would say I done good!

Have a great day gals!

Hope you get in on my burlap giveaway


Joining:


Labels: , , ,

Sunday, July 31, 2011

DIY hand painted napkins tutorial!

 Happy Sunday Morning to you! A lot of you gals are anxious to see how I did these pretty hand painted napkins! I have said it before, I am NO PICASSO!
Stencils are so easy to work with and come in such great patterns anyone can achieve a hand painted custom look when using them.
I will show you the step by step.   Pardon some of the pics, blurry, as I did this early this morning.

 These dishes were my inspiration.  I just happened to have the same stencil pattern on hand that I picked up at hobby lobby.


 Just a close up.
 One nice thing I have found that stenciling on fabric is so simple and there are
 No RUNS.


Start with a plain white napkin, and fold it over on each side length wise.


I did actually press the ones I did already, but this is just a quickie to show you.


Take your stencil and place it over the napkin.  Don't worry if it does not cover the entire napkin.

I then taped it down on each side.

As I started the stenciling process I did hold the stencil down lightly in place, as you can see there are some gaps here.  However, once you start rolling, it does not matter....


I love my little stencil roller..I also picked one up from Hobby lobby.
I use it all the time.


Start rolling away....


For the little blue flowers...


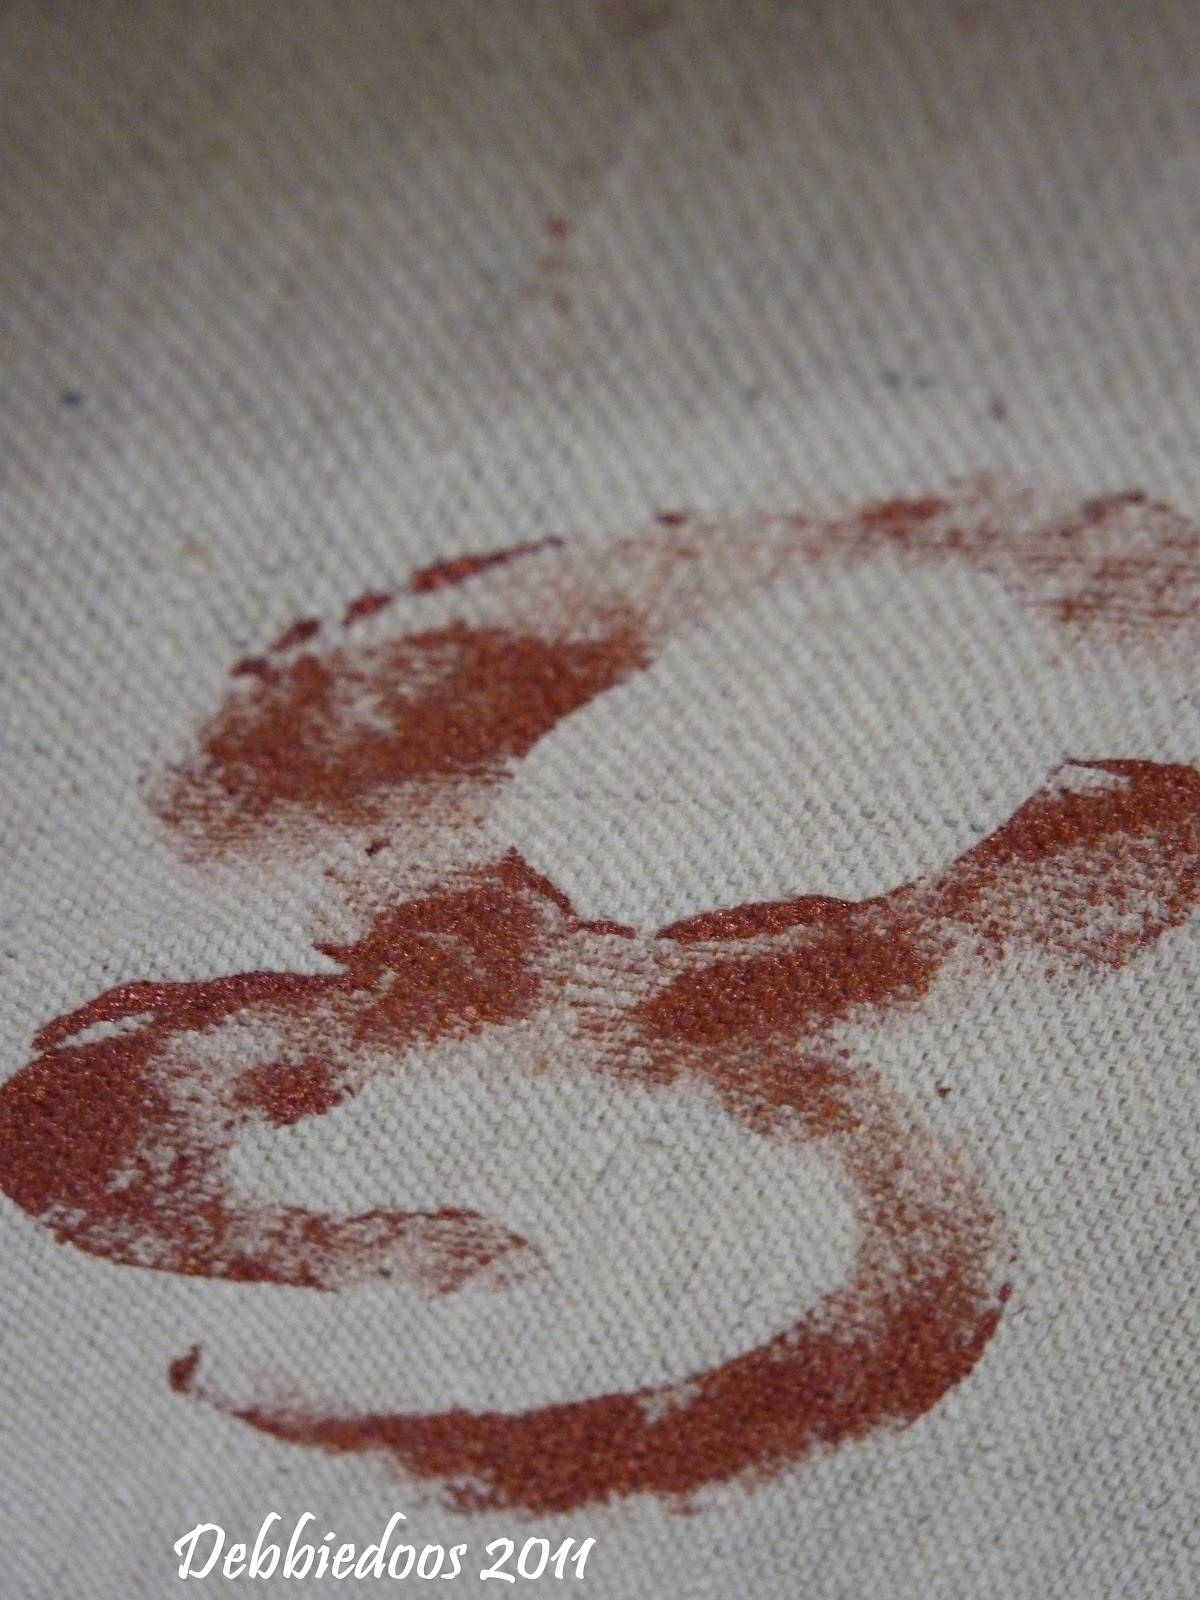
And that is that.  I did add a personalized letter Monogram on mine.  Can't wait to share with you my table setting soon.

NEWBIE party going on NOW
JOINING:
Homemaker on a dime
Tutorials and TIPS
Pin It

Labels: , ,

Monday, April 4, 2011

Calling all NEWBIES..party on


I can't sew for nothing!
Well,  let me retract that a tad, I can hem a pair of pants if I had to, thanks to my Mom showing me years ago.
I am in LOVE with stitch witchery, it truly is amazing stuff.
I showed you my painters tarp curtains
HERE and HERE...
I bought another canvas the other day and thought I would attempt some pillow making.
EASY PEASY once again.
I started with this...
I started with my square, which I used a slip cover from another pillow as my template Canvas came from Walmart, however you can get paint canvases of course at Home depot and Lowes as well.

I then used stencil tape  to create one wide stripe, then I painted it with a craft paint, you can  also see my kitchen recipe stencil I have taped here as well. STENCIL came from Hobby lobby.
As you can see, you would never know this was not hand or machine sewn.
  What I did after I stenciled is put my stenciled square face down on top of the one another with the stitch witchery at all but one end, I cut long strips to put across each end.
I took my iron and put it on steam and ironed across each section carefully.

I love how neat the stenciling came out too. I used a very small artist brush for the stenciling part and did my words  randomly

 I tied the bottoms with some twine as the pillow was too fat and I could not pull it together to use the stitch witchery.
From just one paint canvas, I could probably make 10 pillows.
I must get busy.
Thanks so much for stopping by and all your sweet bloggy love.
XO
Newbie party will begin Sunday evening.
GUIDELINES:
Blogging 6 months or less and/or less than 100 followers.
If you are not a friend of mine, I would love to have you.
Add my link or button, I tell so many of you that each week too.
TURN OFF Word verification.
Week after week after week I and many hosts ask this of you.
You are losing  out on comments because of it.
It is not necessary, blogger weeds out spam.

Have fun..be courteous and visit whom visits you.
This is a very interactive party, you are hear to make new friends.
If you see your link is gone...OOPS, you did NOT follow my party guidelines. Please read up and link up again.

Labels: , ,

Sunday, February 6, 2011

Reminder and a snippet!

Monday is the second Newbie Link up party.
First one was a smashing hit!
So get your most creative posts up and ready, and be ready to  make some new friends.
I just love bringing y'all together.
( I really love pretending I am a true southerner, when really I am just a Yankee)
Who knows you may just meet your new BFF, and you can remember when and where it happened!
In the meantime, can you figure out what I am doing?
 No I am not going to the Dentist, although I am late for my 6 month check up, and you all know what a Teeth freak I am...not good..
 Hmmm...I am not going into someone else's home and causing trouble over there....
 I am listening to tunes right now....
As I prepare to make my chili for the super bowl party.
So what do you think I am doing in between, any guesses, Bet you have no clue!
Link will be up later on tonight.....see you then. Have fun watching the SUPER BOWL!
X0
 Don't forget to add my button or link to the post you are featuring.


Labels: , , ,